Remote SSH Access
A common way of interacting with the CS Linux environment is via SSH, which will allow you to connect to a Linux server from your own personal computer (which doesn’t have to run Linux).
Nowadays, most operating systems include an SSH client, so you will likely not have to install any additional software. We’ll start by checking that you can run the SSH client on your computer (if not, we provide installation instructions further below in this page).
The first step will be to open one of the following:
Windows: “Command Prompt” or PowerShell
MacOS: Terminal
Linux: Terminal
Try searching for these tools on your operating system (e.g., by using the Start menu on Windows, or the search icon on MacOS). If you can’t find them, try following one of these instructions:
Windows: How to Open Command Prompt (Windows 11, 10, 8, 7, etc.)
MacOS: Open or quit Terminal on Mac
Linux: In most Linux distributions, pressing
Ctrl-Alt-Twill open a terminal.
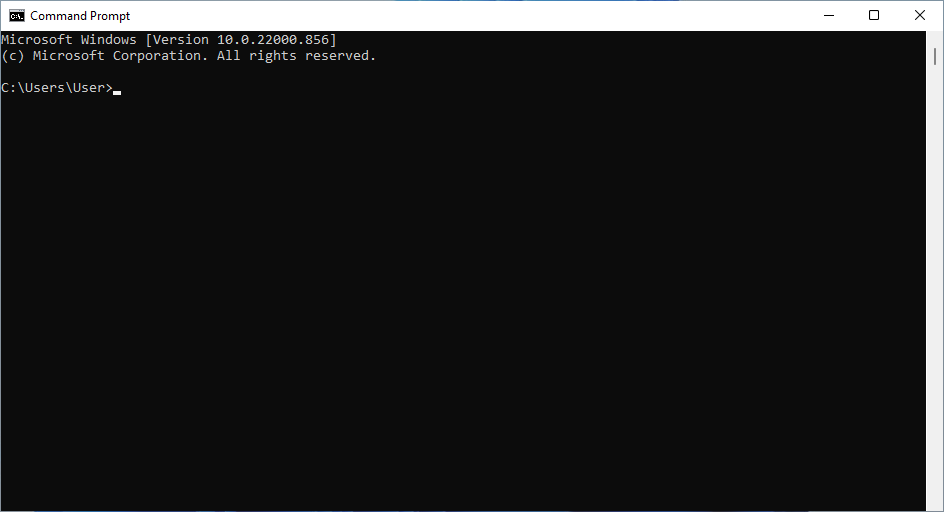
On Windows, the command prompt should look something like this (if you’re using the PowerShell, it will look basically the same, except it will say “PowerShell” at the top):
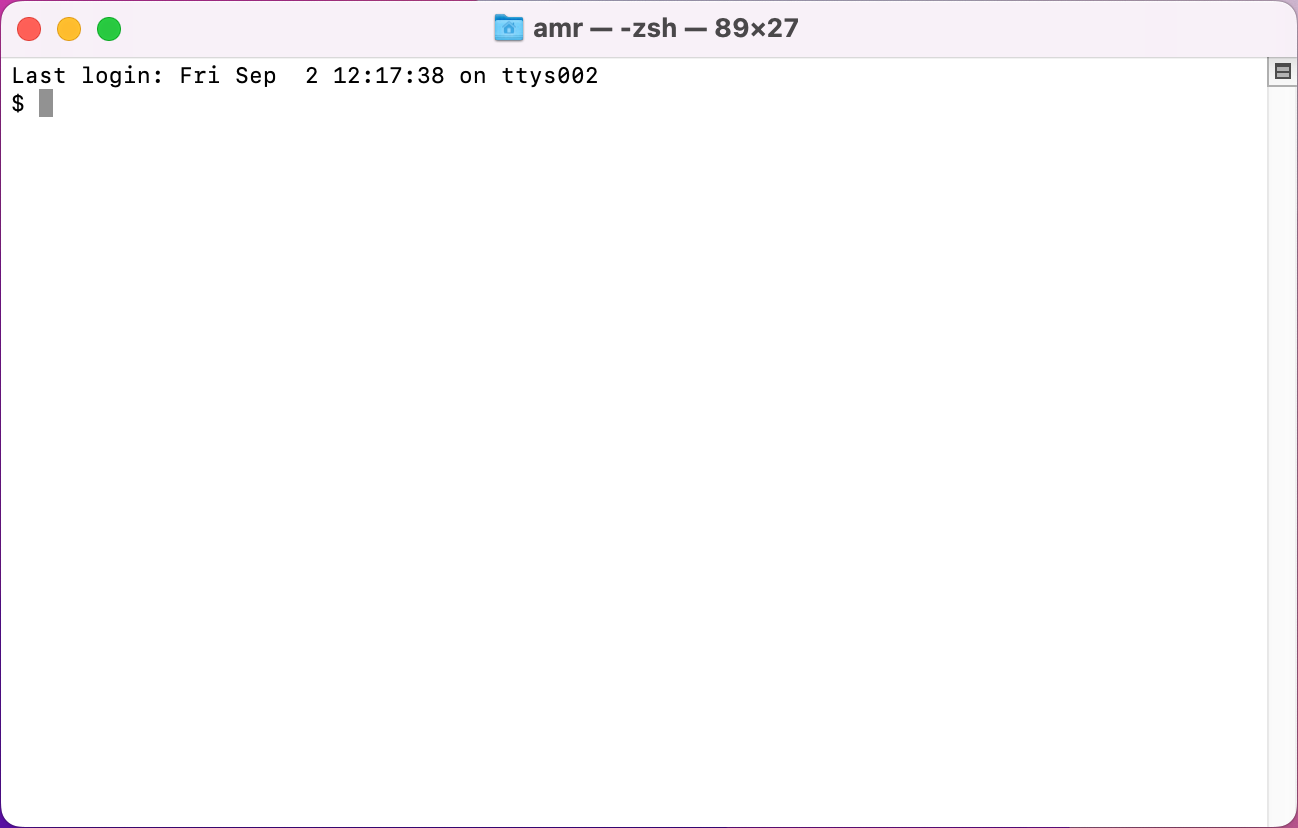
On MacOS, the terminal should look something like this:
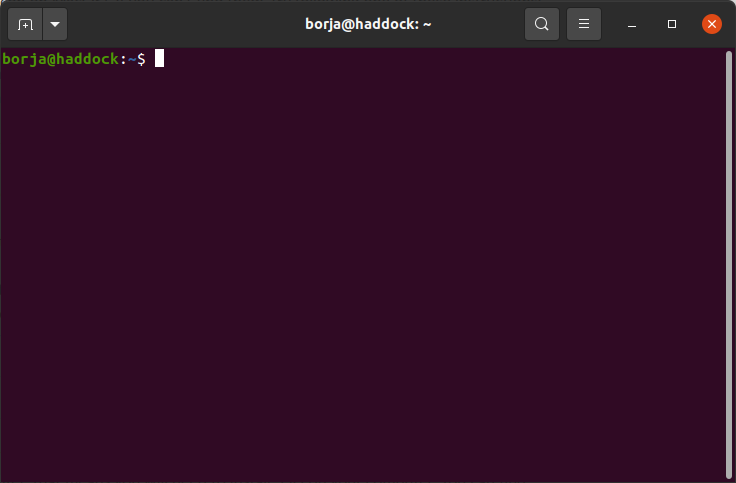
On Linux, the terminal should look something like this:
Regardless of the operating system you’re using, the command prompt or terminal
will allow you to enter text-based commands. To use SSH to connect to one of the
UChicago CS Linux servers, you will need to type the following, taking care to
replace CNETID with your CNetID in all lowercase:
ssh CNETID@linux.cs.uchicago.edu
Press Enter. If you get any sort of error message telling you that there is no
ssh command available on your computer, that means you will need to install
SSH on your computer. You can find instructions on how to do this in the
“Installing an SSH Client” section below.
If SSH is installed on your computer, the command may first print out a message like this:
The authenticity of host 'linuxX.cs.uchicago.edu (128.135.XXX.XXX)' can't be established.
ECDSA key fingerprint is SHA256:...
Are you sure you want to continue connecting (yes/no/[fingerprint])?
If so, just type yes.
Then, when prompted for a password, just enter your CNetID password. Here are two troubleshooting hints:
passwords are case-sensitive, that is, upper-case
Sis different from lower-cases. Make sure you type your CNetID password exactly as you created it.sshwill not echo your password back to you as you type it.
If your connection is successful, you may see a series of messages, ending with this:
CNETID@linuxN:~$
Where CNETID will be your CNetID, and N will be a number between 1 and
7.
If you see the above, you’ve connected successfully to a UChicago CS Linux server! If you came to this page from the Linux Basics Tutorial - Introduction to Linux, you should continue working on the tutorial through the SSH connection you just opened.
When you are finished using your SSH connection, close it by typing Ctrl-D
or exit at the Linux prompt.
Note
Troubleshooting UChicago Campus Network Issues
There are at two wireless networks on campus: eduroam and uchicago. (You may see a network named uchicago-secure; it is in the process of being decommissioned.)
The first, eduroam, can be used with ssh. The second, uchicago, DOES NOT support ssh connections.
If you are on campus and have trouble logging into one of the servers, please
verify that you are using eduroam as your
wireless network. The following is a common error message that occurs when
trying to use a network that does not support ssh connections : Could
not establish connection to "linuxX.cs.uchicago.edu": The operation timed
out.
Installing an SSH Client
If your operating system does not have an SSH client installed, please following the instructions below to install it. Please note that MacOS systems always include an SSH client, so we have not included instructions on how to install SSH on MacOS.
Windows 10
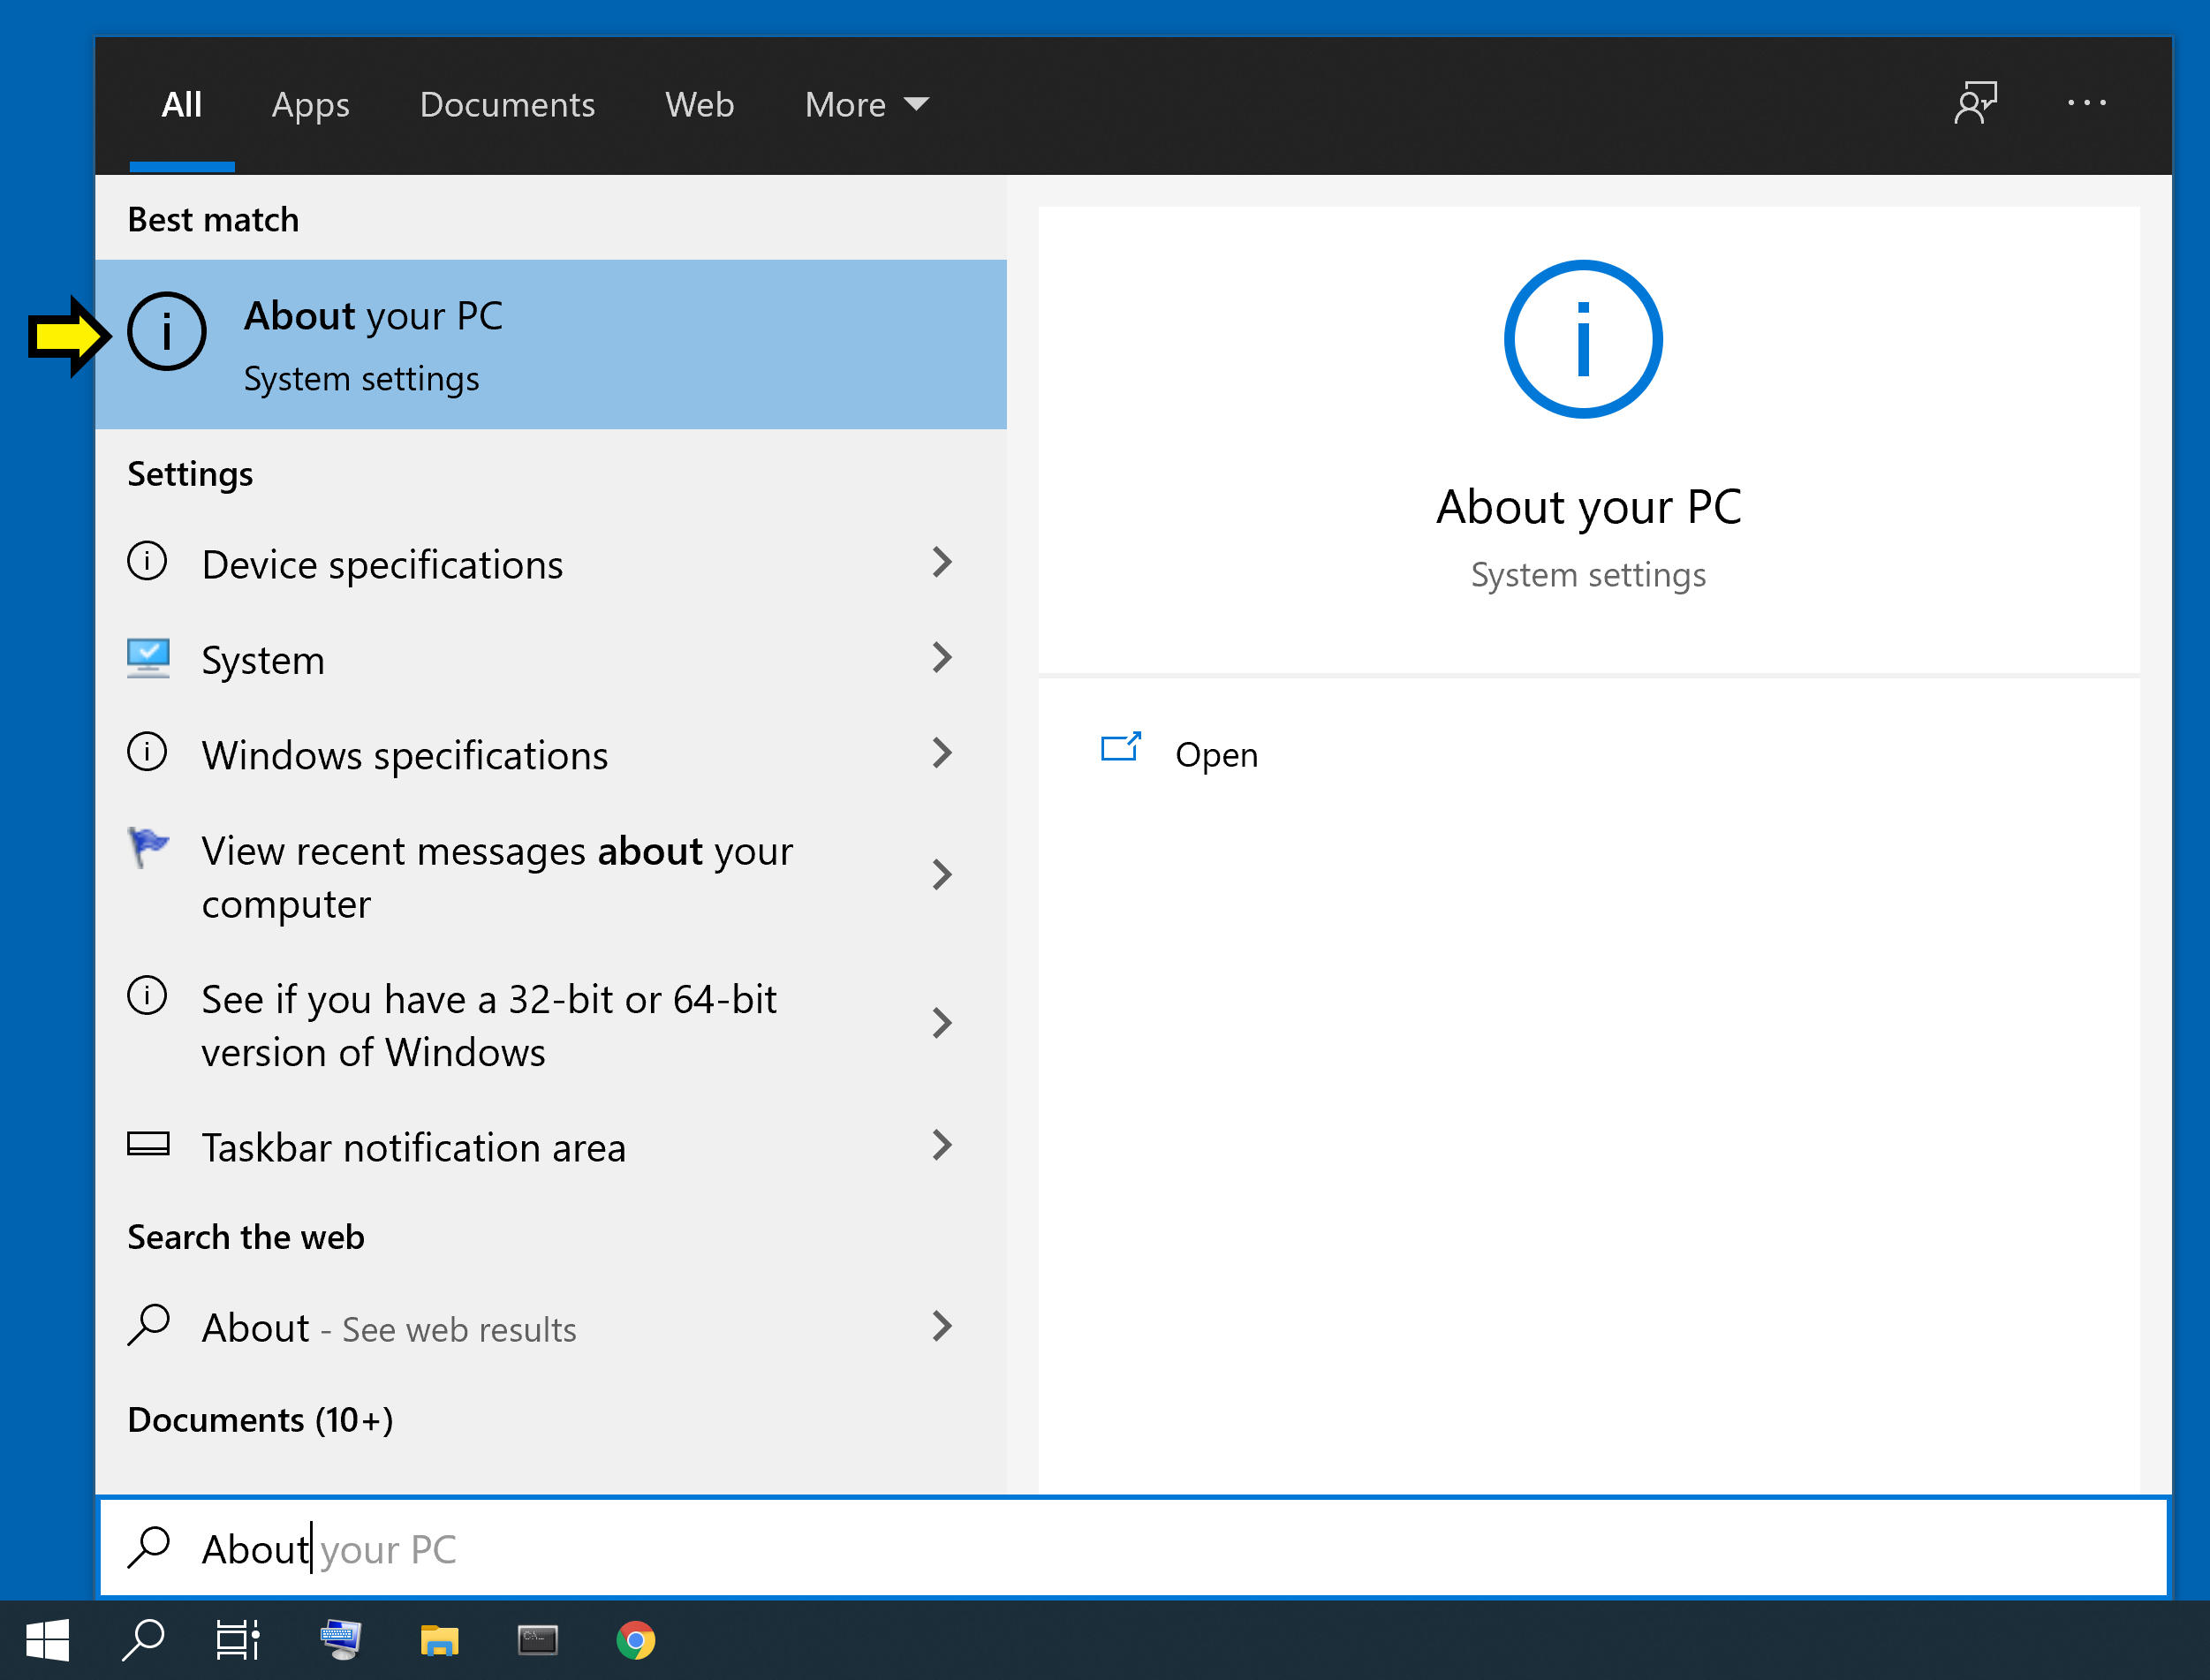
In these instructions, you will open various applications and settings by searching for them. To do this, open the Start menu by pressing the Windows key on the keyboard, or clicking the Windows icon in the corner of your screen. Begin typing the name of the application or setting, like About your PC (even though there is no visible search bar, one will appear when you begin typing). When the About your PC option appears, click on it.
Checking your version of Windows 10
You need to be running a recent version of Windows 10. To check your current version, open the Start menu, begin typing About your PC, and click on the option when it appears.
Scroll down to the heading Windows specifications. Next to Edition, you should see Windows 10 Home or Windows 10 Pro (or similar).
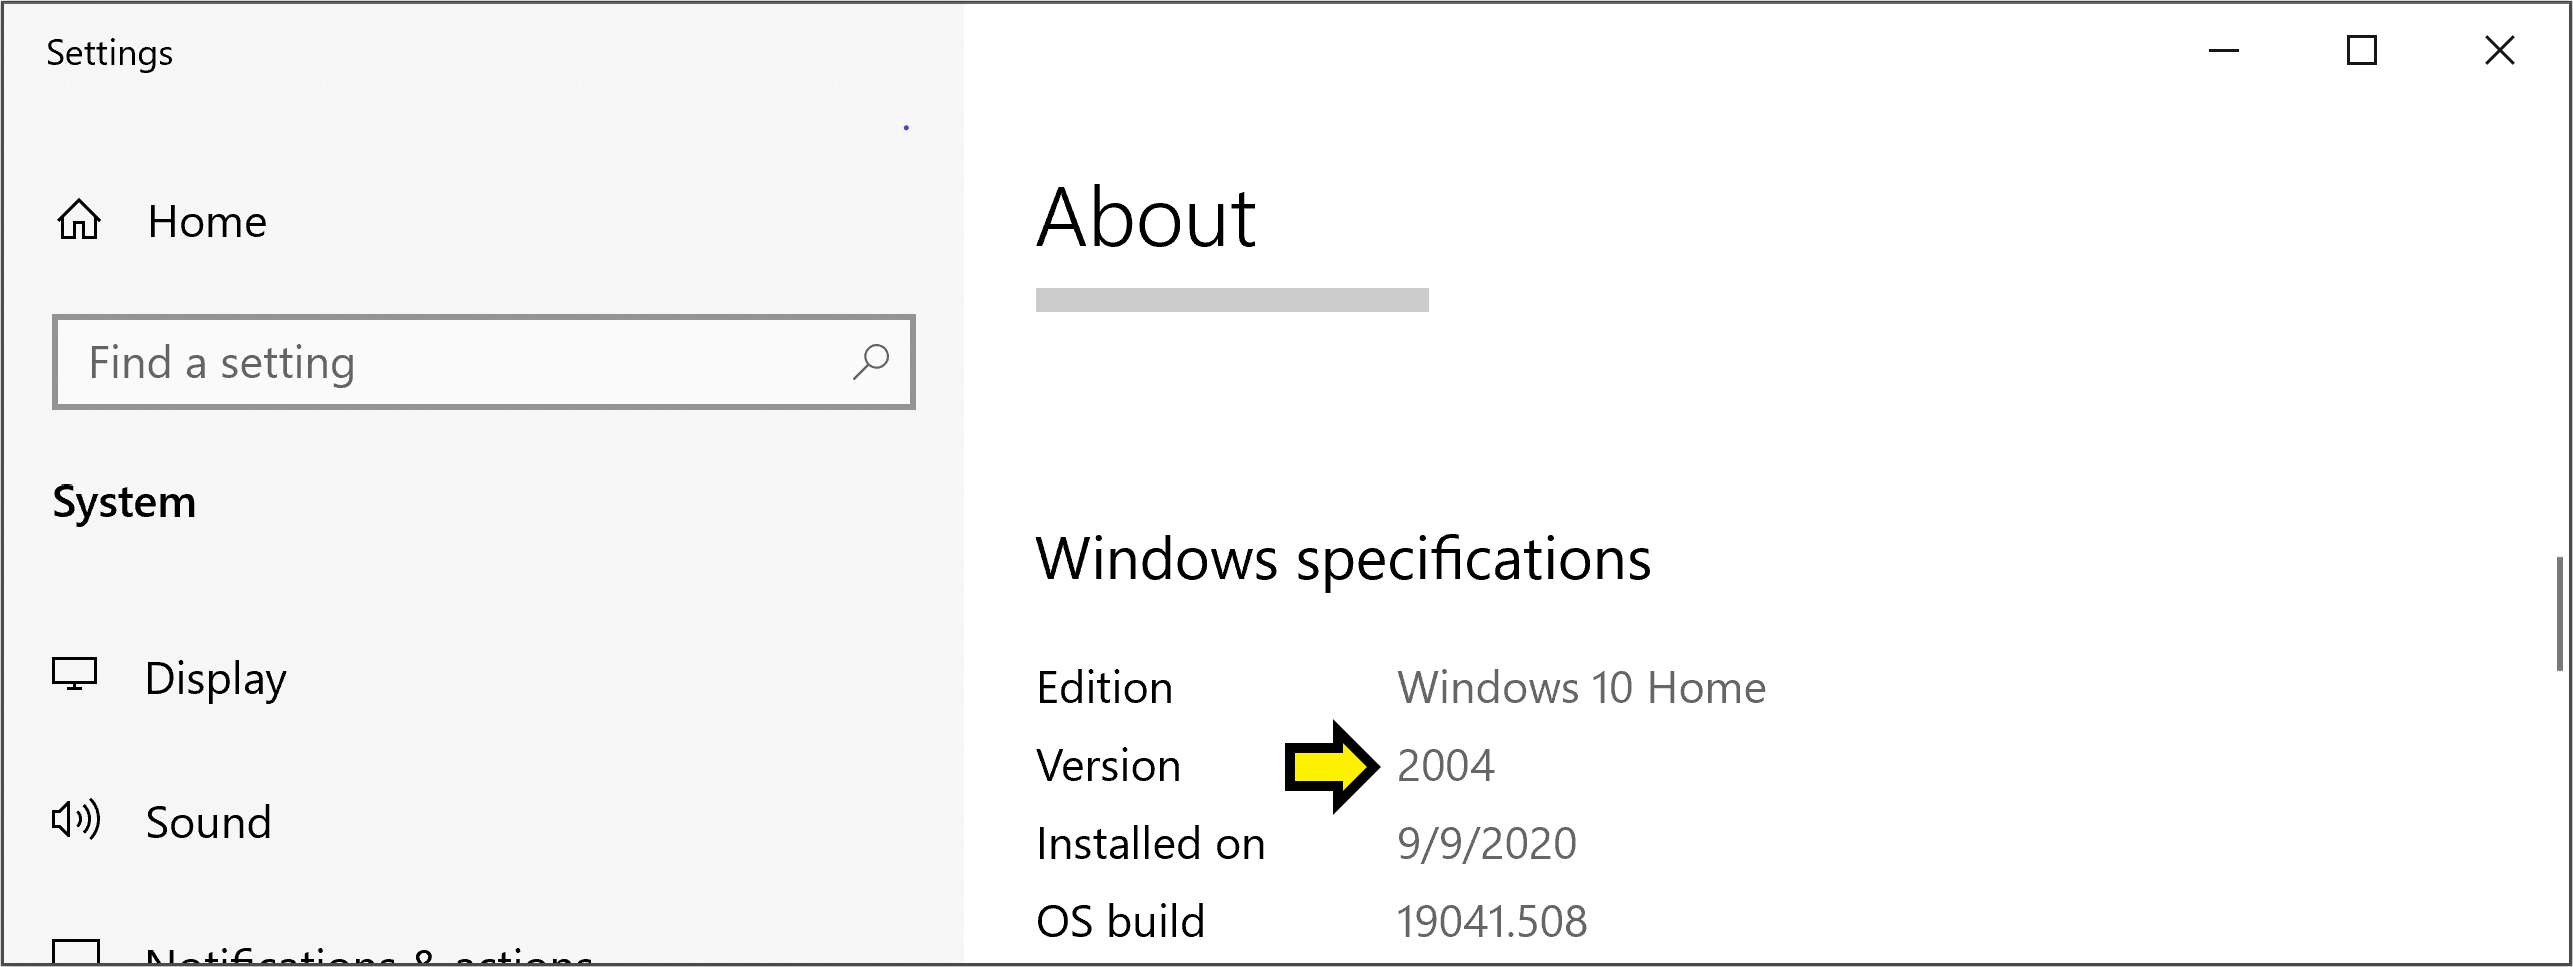
Below that you should see Version and a number like 2004. If this number is less than 1803, then you need to update Windows 10.
Updating Windows 10
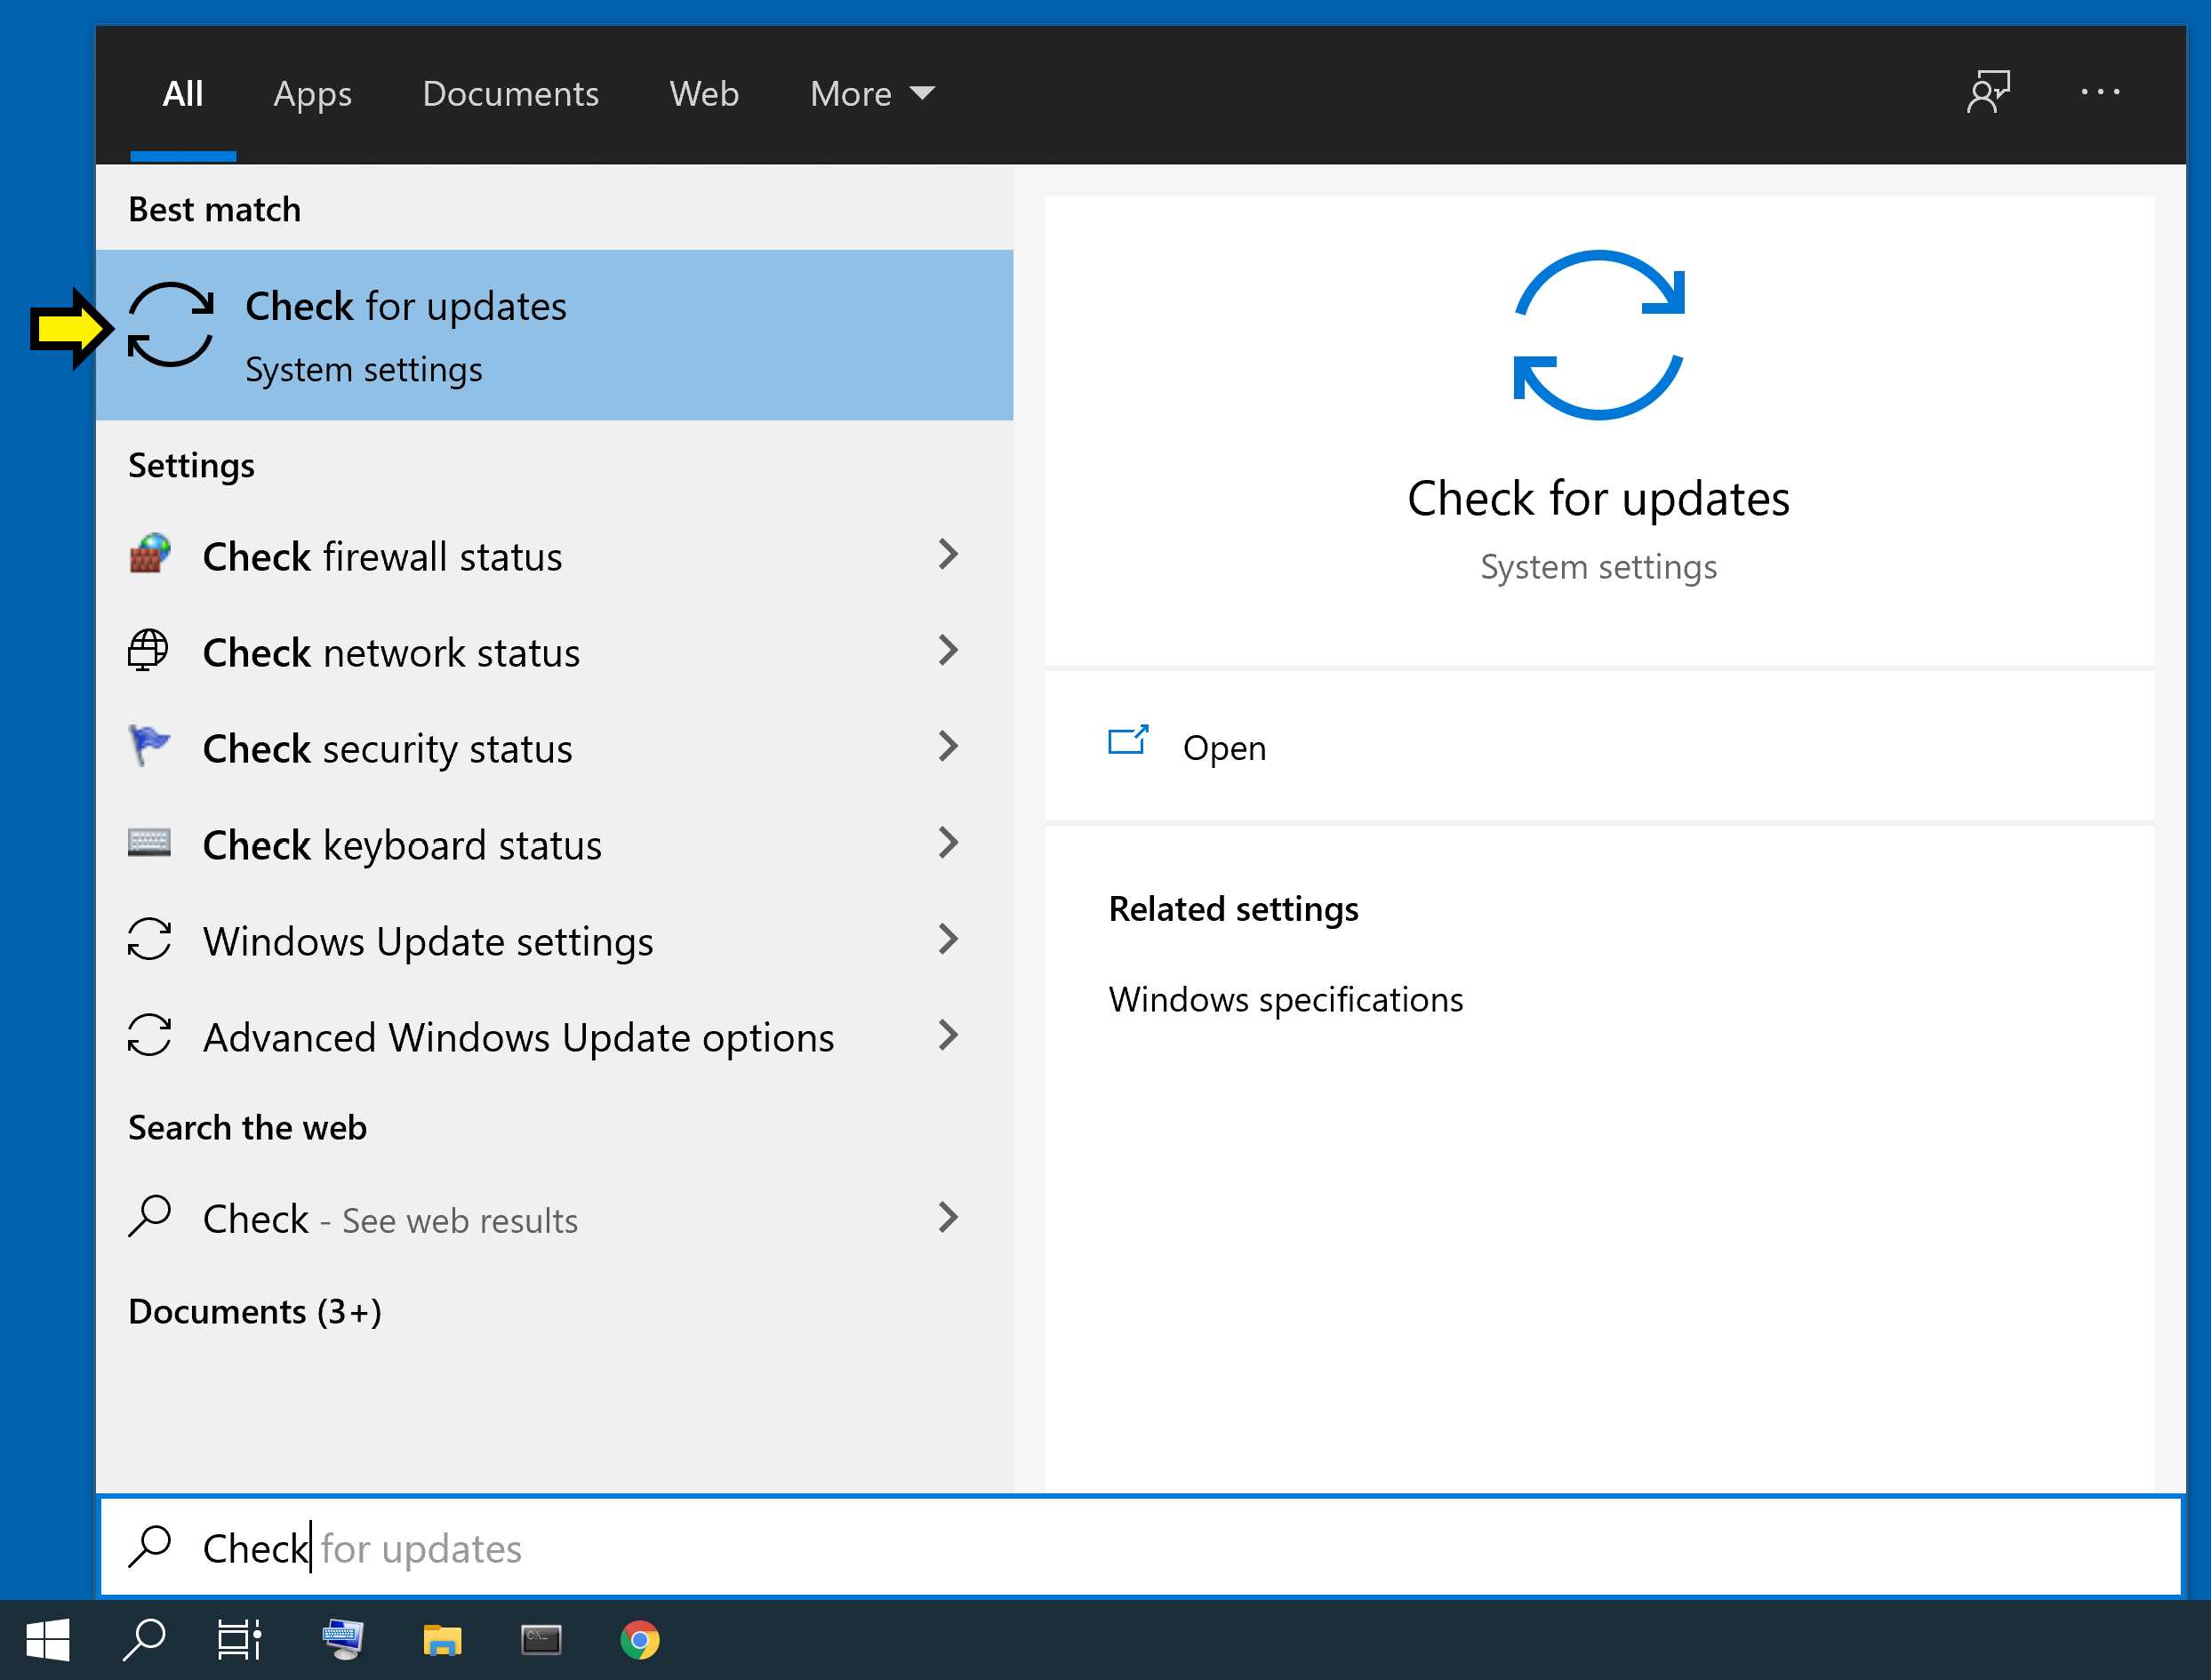
To update Windows 10, open the Start menu, begin typing Check for updates, and click on the option when it appears.
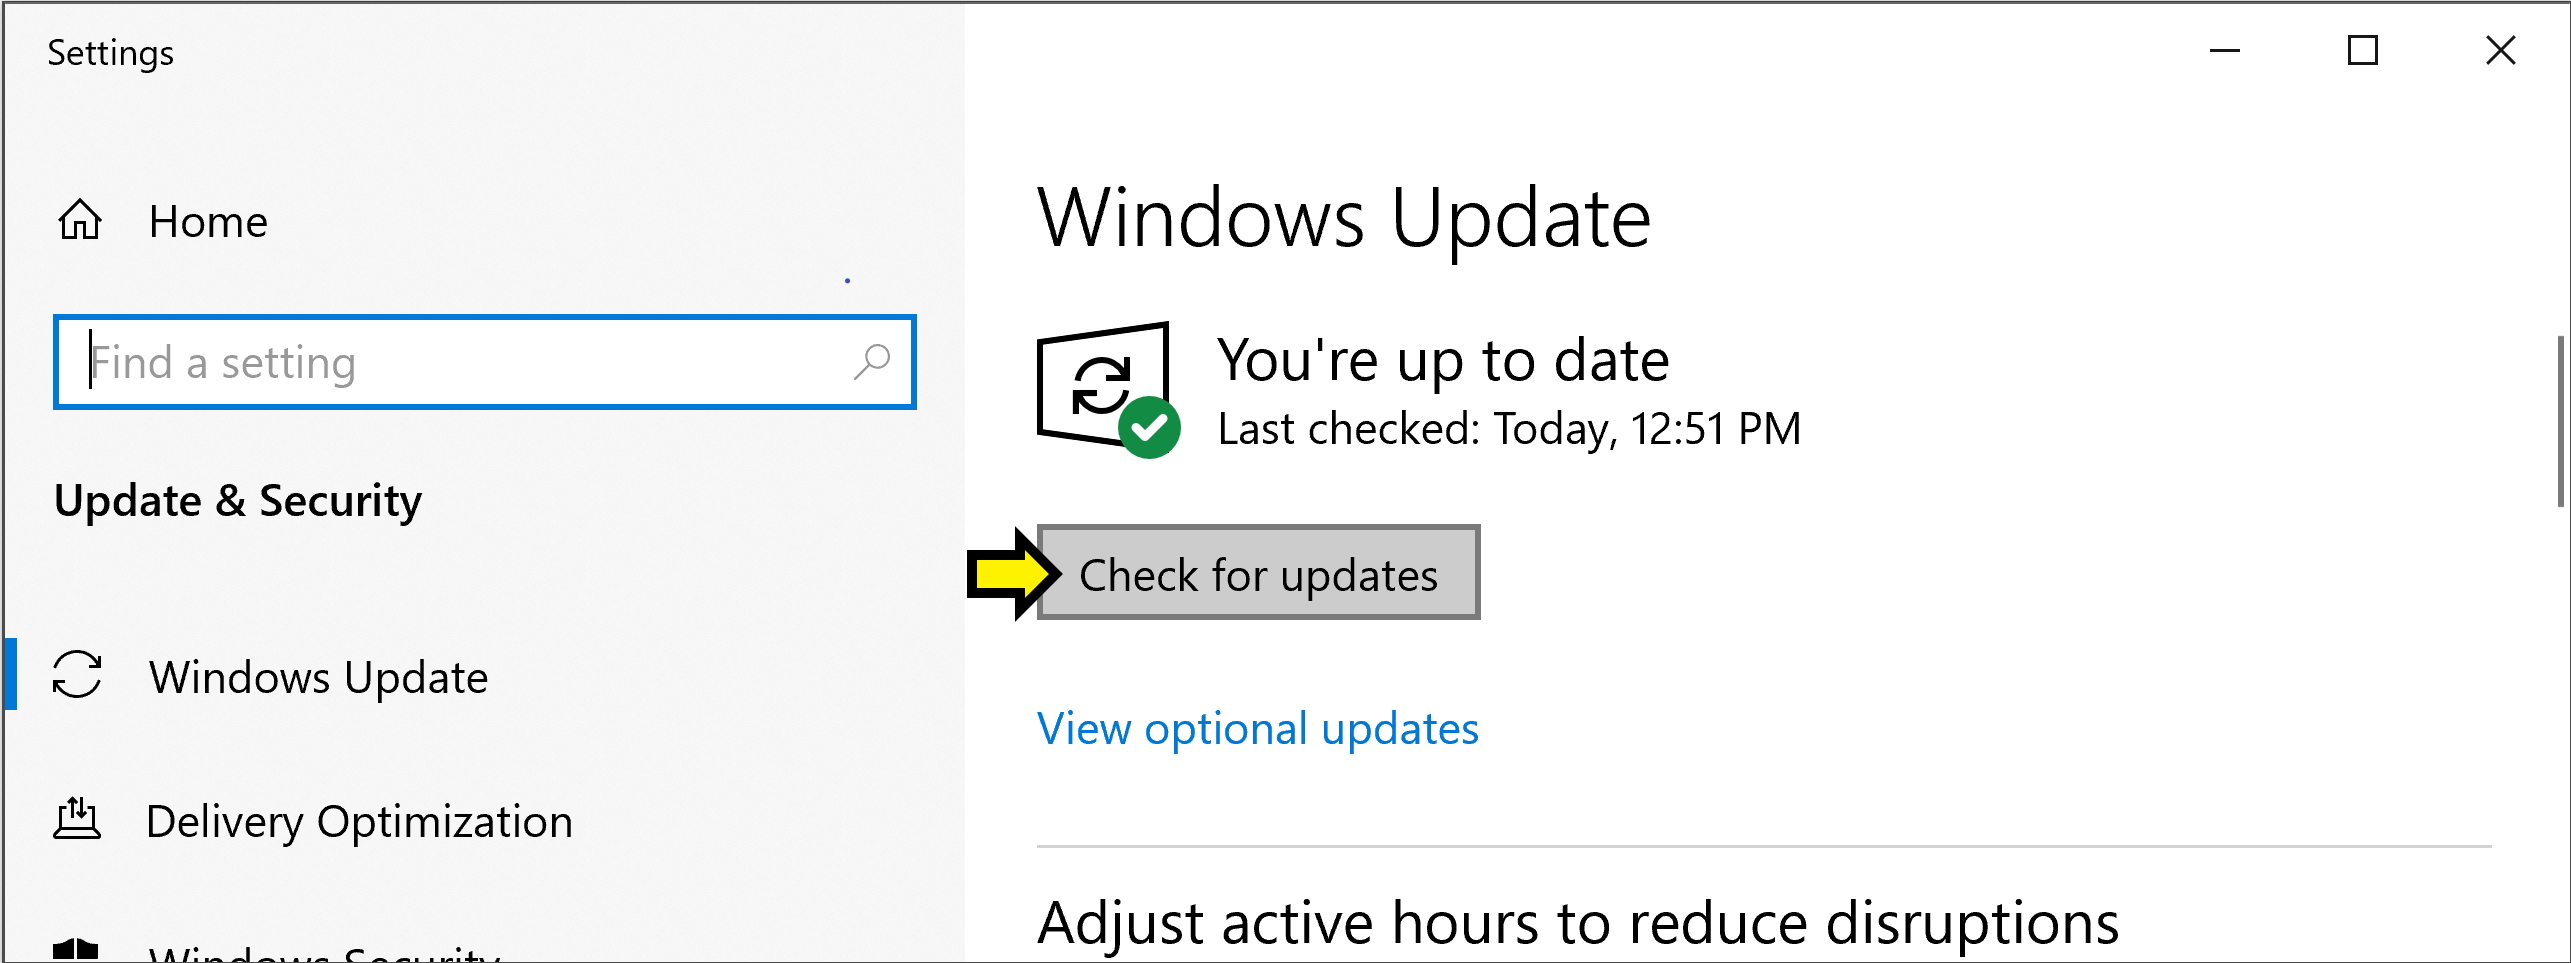
The window that opens should have the heading Windows Update. It may tell you that you have updates available; otherwise, click the button that says Check for updates.
Follow the instructions to install the available updates. This may take a few minutes, and your computer may restart. When the update completes, check your version of Windows 10 again, and verify that it now reads as 1803 or greater.
Installing Windows OpenSSH Client
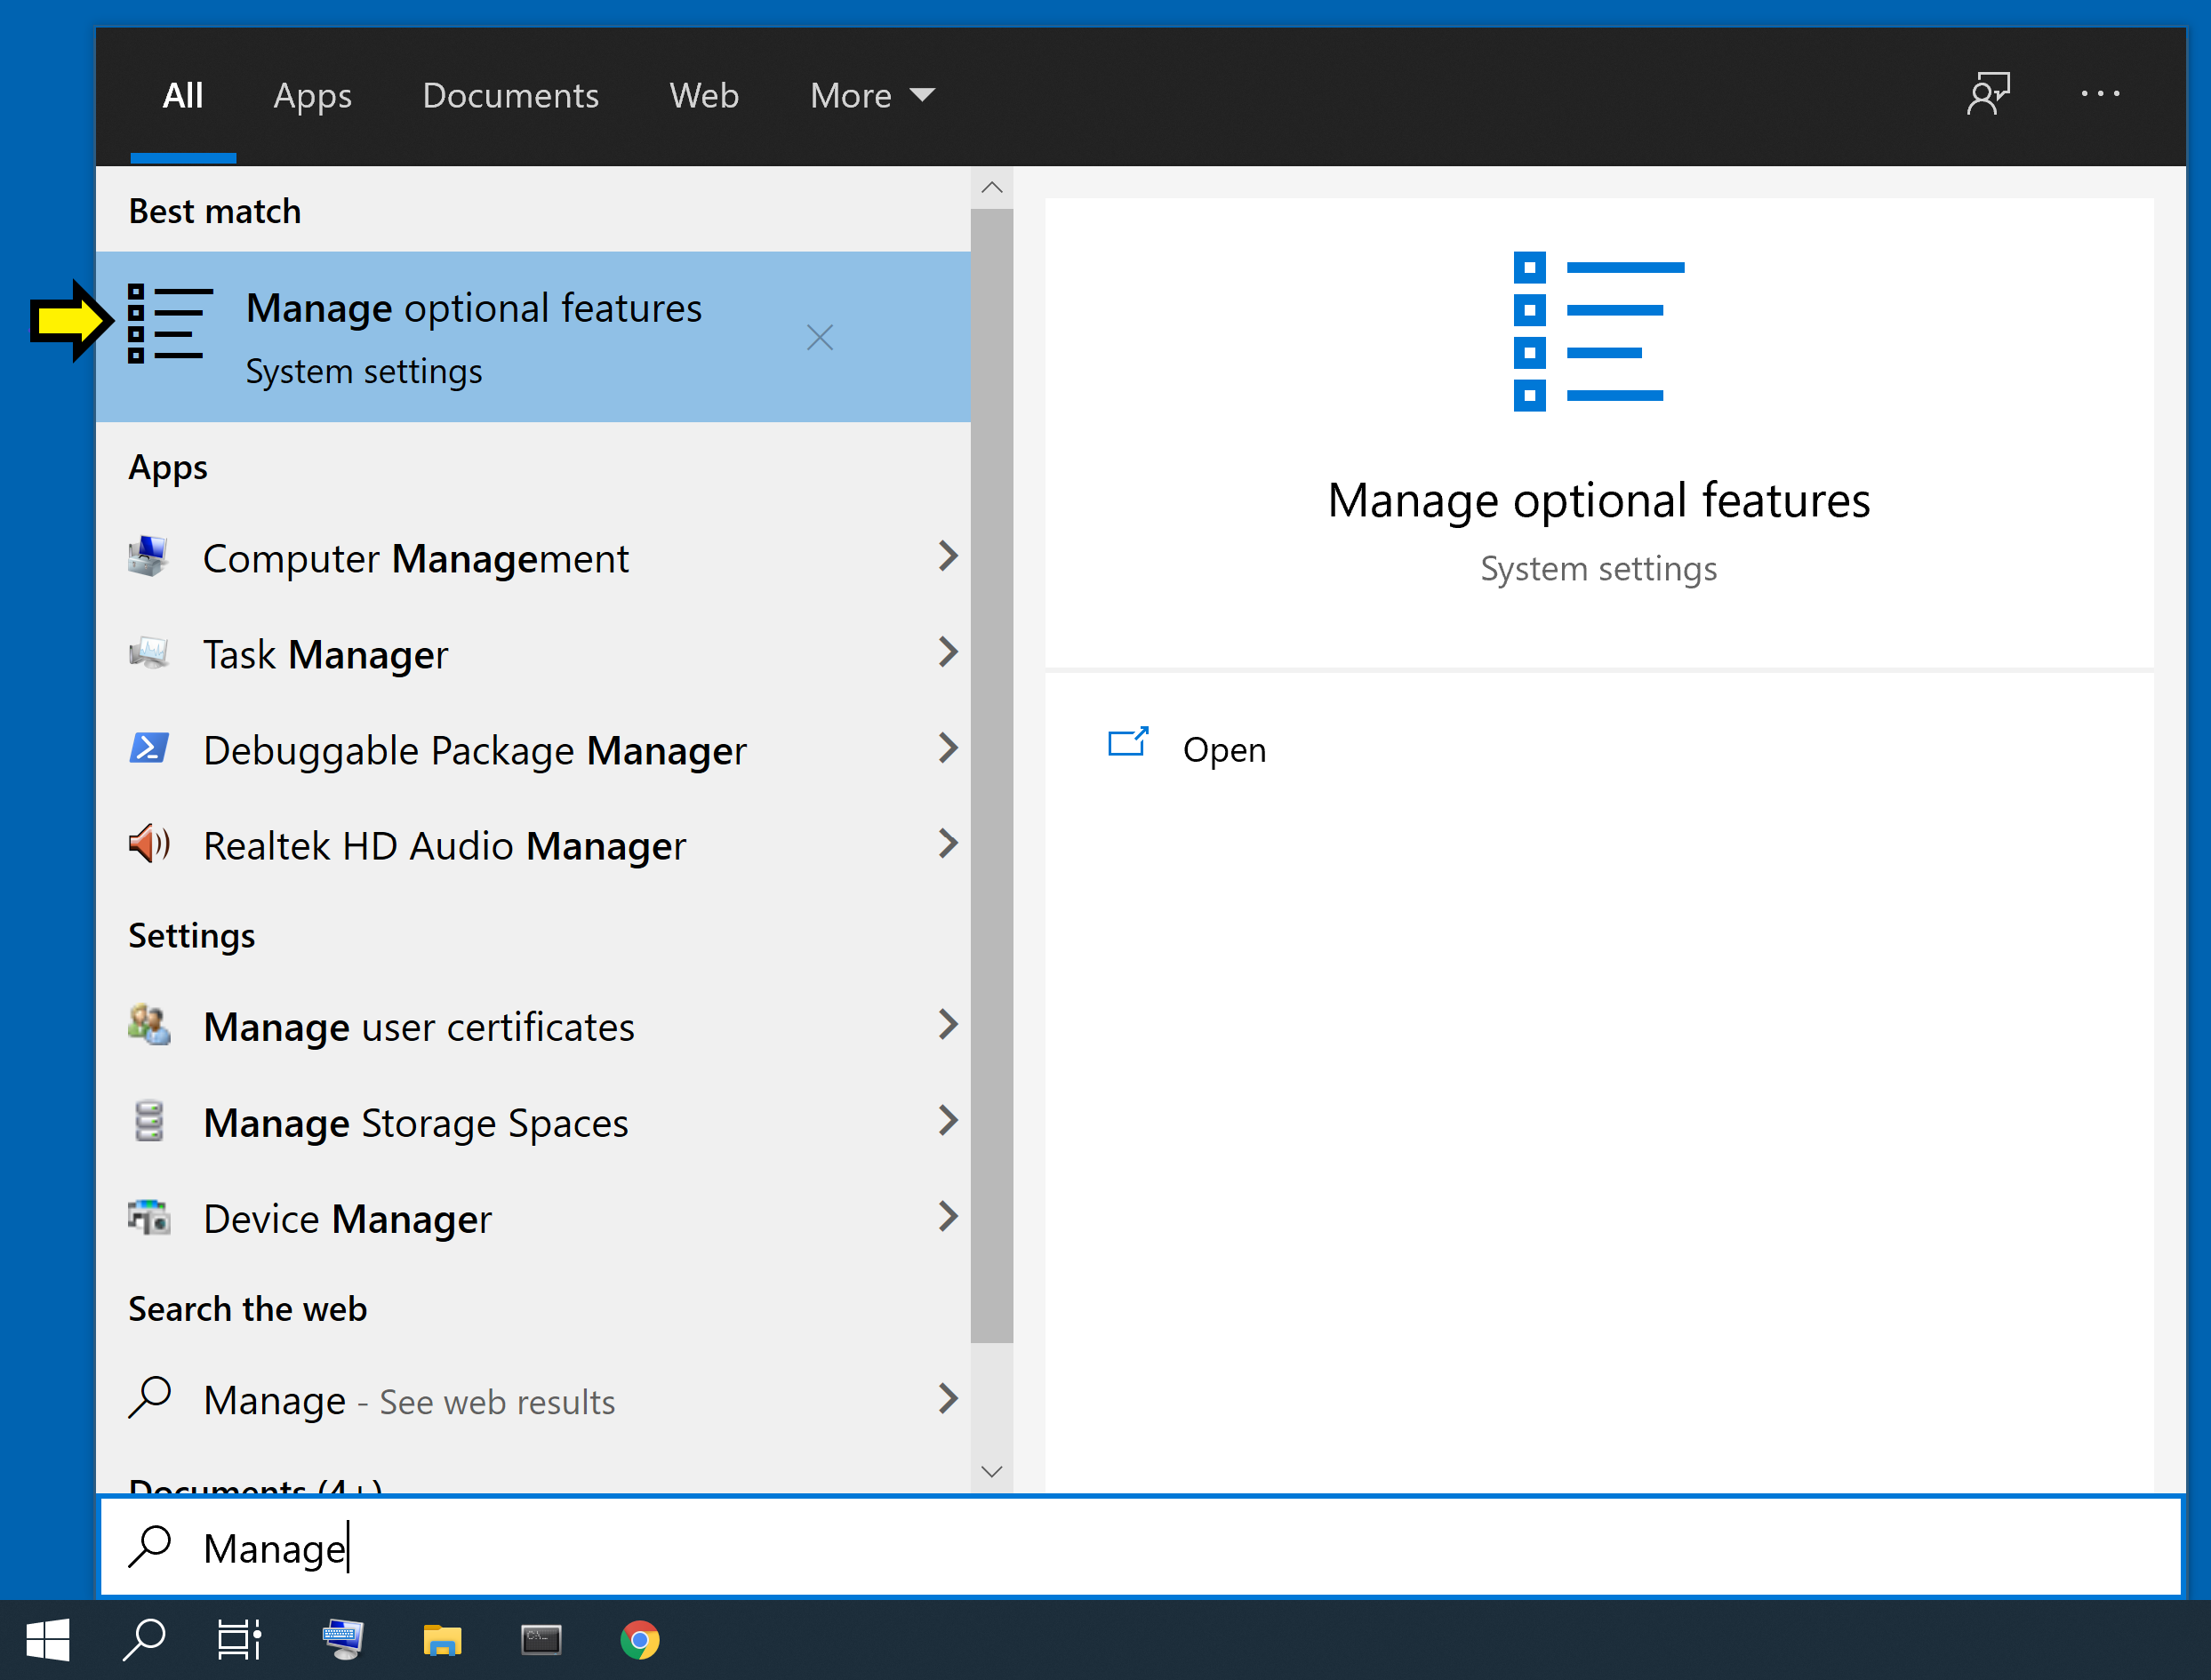
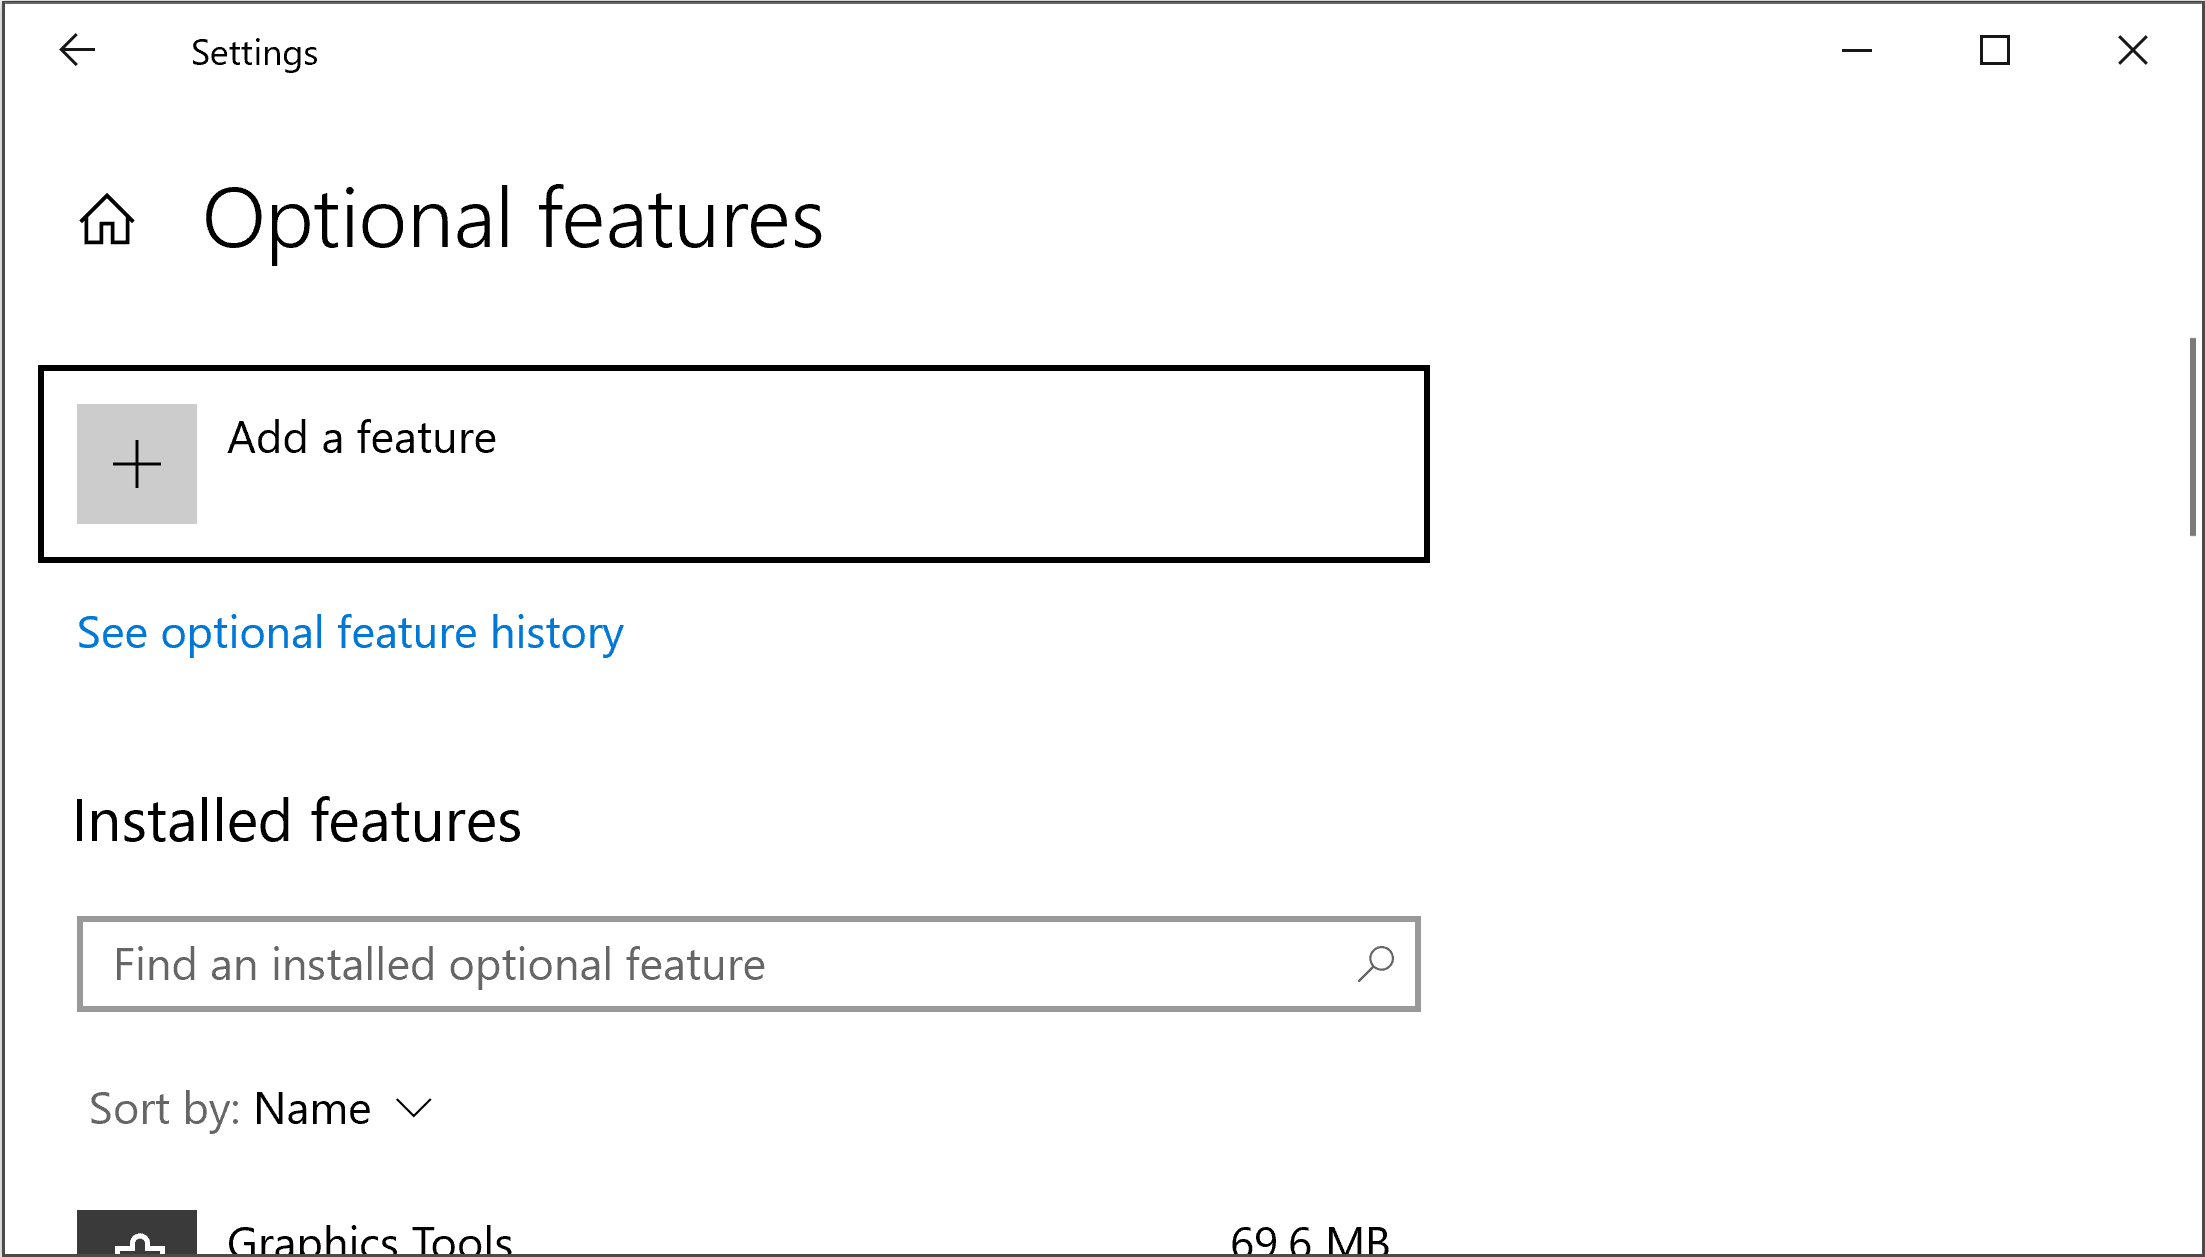
Open the Start menu, begin typing Manage Optional Features, and click the option when it appears.
You should see a window that looks like this, with the heading Optional features.
Scroll through the list of Installed features. If OpenSSH Client appears in the list, you are done with this step. Otherwise, click on + Add a feature at the top of the page. You will get a pop-up window with the heading Add an optional feature. Start typing OpenSSH Client. When the option appears, click on the checkbox next to it.
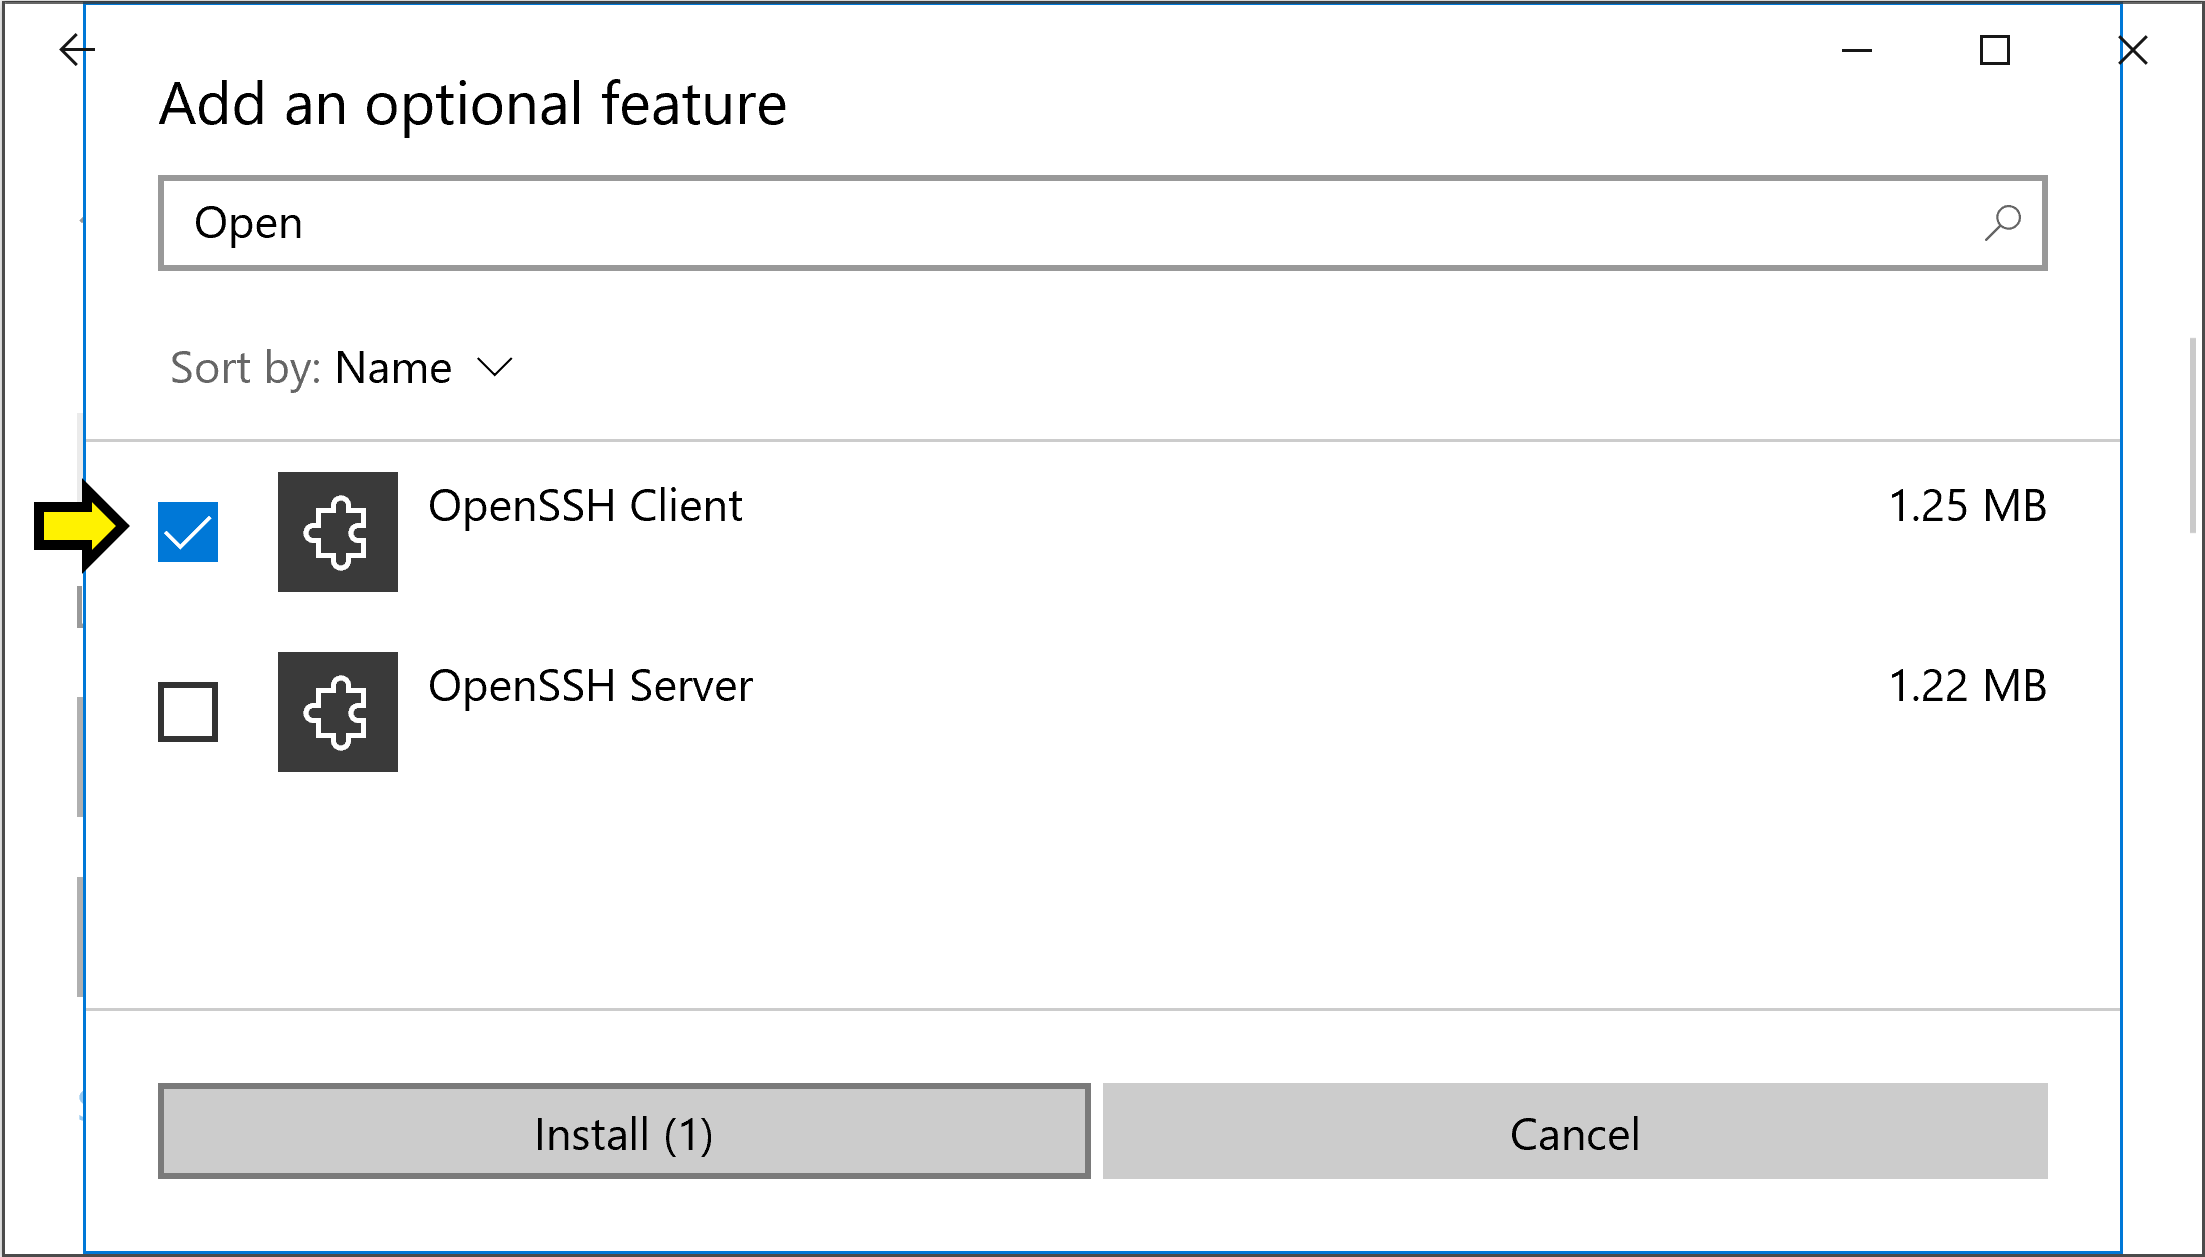
Then click on the button labeled Install (1). Wait for the progress bar to fill.

The installation is complete. You should now re-try the instructions at the top of this page.
Linux
Linux systems typically include an SSH client but may occasionally not include one. The exact process to install the client may vary from one Linux distribution to another, but the following commands should allow you to install SSH in some of the most popular Linux distributions:
Debian/Ubuntu: Run
sudo apt-get install openssh-clientRHEL/Fedora/CentOS: Run
sudo yum install openssh-clients
Once you’ve installed SSH, you should re-try the instructions at the top of the page.
Setting up Passwordless SSH
You may have noticed that every time you connect to the Linux server with SSH, either in a terminal window or with VSCode, you are prompted for your password.
These instructions will allow you to configure your computer to connect to the Linux server without being prompted for your password each time, which is much more convenient.
You only need to follow these instructions once on your personal computer/laptop.
Warning
If you have already completed the GitHub SSH setup instructions (from the Git Tutorial), you already have an SSH key pair on your computer. Please read and follow the instructions carefully to avoid overwriting your existing SSH key pair and losing access to GitHub.
Step 1: Open a terminal window on your local computer. On Windows, open a Powershell terminal by pressing the Windows button and searching for “Powershell”. This terminal should be on your local machine; that is, do not connect with SSH to the Linux server. The following commands (steps 2-5) should be run on your local machine.
Step 2: Run cd
This command will take you to your home directory.
Step 3: Run ssh-keygen -t ed25519
You will see the following prompt:
Generating public/private ed25519 key pair.
Enter file in which to save the key (/home/username/.ssh/id_ed25519):
Press Enter to accept the default location. Check the output of this command to decide whether you need to generate a new SSH key pair (see the warning below).
Warning
If you have already completed generated an SSH key pair for (possibly for GitHub) , you will see a prompt like this:
/home/username/.ssh/id_ed25519 already exists. Overwrite (y/n)?
If you see this prompt, do not overwrite your existing SSH key pair. You can re-use this key pair. Skip ahead to Step 4.
You will then see the following prompt:
Enter passphrase (empty for no passphrase):
In order to use SSH without a password, you must leave this passphrase empty. Press Enter to accept the default (empty passphrase). You will then see a message like this:
Your identification has been saved in /home/username/.ssh/id_ed25519.
Your public key has been saved in /home/username/.ssh/id_ed25519.pub.
The key fingerprint is:
SHA256:cBUUs2FeMCIrBlTyv/PGpBtNz0v235zvLykpoWIOS9I username@machine

The key’s randomart image is:
+--[ED25519 256]--+
| .+.. . ..@+.    |
| + o = *         |
| + o . o         |
| . o o           |
| . S             |
| . +.o.          |
| . E ++..=. . .  |
| o o+++o.oo oo.  |
| .oo+. ...o.+O   |
+----[SHA256]-----+
This message indicates that your SSH key pair has been generated successfully.
Step 4: Time to copy your public key to the Linux server. This command will differ depending on whether you are using a Mac or Windows computer.
Mac/Linux: Run the following command:
ssh-copy-id CNETID@<servername>.cs.uchicago.edu``
Replace
CNETIDwith your CNetID, and<servername>with the name of the server you want to connect to. For example, if you want to connect to such aslinux1.cs.uchicago.eduorcs141-4.cs.uchicago.edu.You will be prompted for your password. Enter your CNetID password.
Windows: Run the following commands from the Window’s Powershell command-line prompt:
$publicKeyPath = "$env:USERPROFILE\.ssh\id_ed25519.pub"
$remoteCommand = "{
    mkdir -p ~/.ssh && cat >> ~/.ssh/authorized_keys
}"
Get-Content $publicKeyPath | ssh <CNETID>@<servername> $remoteCommand
Replace
<CNETID>with your CNetID, and<servername>with the name of the server you want to connect to, such aslinux1.cs.uchicago.eduorcs141-4.cs.uchicago.edu.Please note that the curly braces (
{and}) in the second command need to be on their own lines.You will be prompted for your password. Enter your CNetID password.
Step 5: Test your connection. Run the following command:
ssh CNETID@<servername>.cs.uchicago.edu
You should now be able to connect to the Linux server without being prompted for a password.