The UChicago CS Software Environment
This page describes the software environment provided by UChicago’s CS department, and which you will be using in most of your classes. This page also describes how to access this software environment, as well as some recommended development tools.
The officially supported software environment in UChicago’s CS department is Ubuntu 20.04, a type of Linux/UNIX system, that has most of the tools and software libraries required to complete your CS coursework. However, this does not mean that you need to install Ubuntu on your personal computer: instead, the CS department provides this environment both in our computer labs and through a series of “login servers” that will allow you to access a Linux environment remotely.
Completely new to Linux/UNIX?
If you’re completely new to Linux/UNIX systems, we recommend that you plan to stop by the CSIL computer lab (see below), and work through the Linux Basics Tutorial starting with Introduction to Linux on a CSIL Linux computer. Once you’re comfortable with the basics of using a Linux system, make sure you are able to remotely access the UChicago CS Linux environment from your own computer using SSH (see below).
Accessing a UChicago CS Software Environment
There are several ways of accessing the UChicago CS Linux environment, which we describe below:
CS Instructional Laboratory (CSIL)
The Computer Science Instructional Laboratory (CSIL), located in the first floor of the John Crerar Library, includes two computer labs (CSIL 3 and 4) with Linux machines in them. If there are no classes in progress in those labs, you can sit at any available computer to access the UChicago CS Linux environment (there are also Linux computers outside the labs, which you can use if the labs are occupied by a class).
You can log into these machines using your CNetID and password. If you encounter any issues, you can speak to a CSIL tutor at the tutor desk.
Remote SSH Access
While the CSIL labs provide a convenient way to access a ready-to-use Linux environment, it is also possible to access this same environment remotely (i.e., without having to be physically sitting in an on-campus computer lab).
A common way to do this is with SSH, a system that will allow you to access a Linux terminal from your computer. This means that you will only have access to the text-only command-line terminal of the UChicago CS Linux environment, and won’t be able to launch any graphical programs (like you would if you were physically sitting at a Linux machine in a CSIL lab).
While this may seem like a big constraint, you can still do a lot from a Linux terminal, and most student get by just with SSH access to the UChicago CS Linux environment.
We explain how to use SSH to connect to our Linux servers in the Remote SSH Access page. There you will find instructions on how to set up SSH access from Windows, Mac, or another Linux system.
SSH can also be used to seamlessly edit files that are stored on the UChicago CS Linux systems, while using an editor that is running on your own computer. The exact mechanism for doing this varies from one editor to another, but we provide instructions on how to set this up with one particular editor, Visual Studio Code, in Using Visual Studio Code and SSH.
Virtual Desktop
Another option for working remotely on a CS software environment is to use a Virtual Desktop. This will allow you to connect to a CS server that will give you access to a desktop environment similar to the one you would encounter if you were sitting at a Linux machine in a CSIL lab. This approach, however, requires more bandwidth than using SSH, and can feel sluggish depending on the latency of your connection. We recommend this option only if you are first getting started with Linux, or in cases when you need to use a specific graphical tool in the UChicago CS Linux environment.
The CS Virtual Machine
The CS department also provides a virtual machine (VM) that approximates the software environment found in the CS machines. You can find the latest version of the CS virtual machine on this page, which also includes instructions on how to install and run the VM. Make sure to also check out the VM FAQ, which covers a number of common issues when running the VM (including how to deal with a slow/sluggish VM).
Running the VM will effectively run a full Linux operating system from inside your current operating system, and will feel as if you were logging into one of the Linux machines in the CSIL labs. However, take into account that the virtual machine is a completely standalone machine, and will not have access to the CS filesystem that is available when you SSH into a CS Linux server or log into a CSIL machine.
Recommended code editors
This section provides a few recommendations on code editors you may want to consider. Some of them are included in the CS machines, but you can also install them on your own computer to write your code there (and then follow the steps found in the Remote SSH Access page to compile and run your code on a CS machine). All of these tools are available on Windows, Mac, and Linux.
You may find that some people are very opinionated about their choice of editor, and will sometimes argue passionately about why their editor is right and yours is wrong. You should ignore these people and ultimately use whatever editor works best for you (and don’t judge other people for their choice of editor!)

Design by Borja Sotomayor, artwork by Sarah Becan
Terminal-based editors
Terminal-based editors, like vim, Emacs, and nano have the advantage of being found on practically every UNIX system and not requiring a graphical desktop, which means they can be used when logging into a machine remotely via SSH, or on older machines that may feel sluggish when running some of the graphical editors we discuss below. They can also be extremely powerful, and can be customized to work with pretty much any programming language under the sun.
Even if you don’t use a terminal-based editor as your primary development environment, we recommend building at least some basic familiarity with vim, Emacs, or nano in case you are ever in a situation where you can only edit a file through a terminal (and can’t launch a graphical editor).
Visual Studio Code
If you want to use a graphical text editor (i.e., one that uses a graphical user interface from the Linux desktop), a popular option is Visual Studio Code (not to be confused with its older sibling, Visual Studio). It is more powerful than a regular text editor, with features like syntax highlighting, auto completion, Git integration, plugins that integrate with other tools, etc. but it is not a full-fledged Integrated Development Environment (and, as such, is a more lightweight piece of software requiring fewer resources).
Visual Studio Code is open source software and is available for free. Since it is a popular option for many students, particular beginner students, this guide includes an entire section on how to set up and use Visual Studio Code.

Source: https://code.visualstudio.com/
Sublime Text
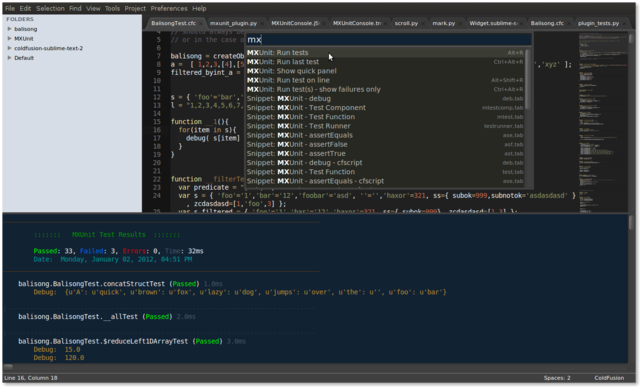
Another popular graphical text editor is Sublime Text, which tends to be a bit more lightweight than Visual Studio Code. Please note that Sublime Text is not free: while you can download it and use it for a period free of charge, you will be nagged frequently about paying for a license.

Source: https://commons.wikimedia.org/wiki/File:Sublime_text_mxunit.png
JetBrains IDEs
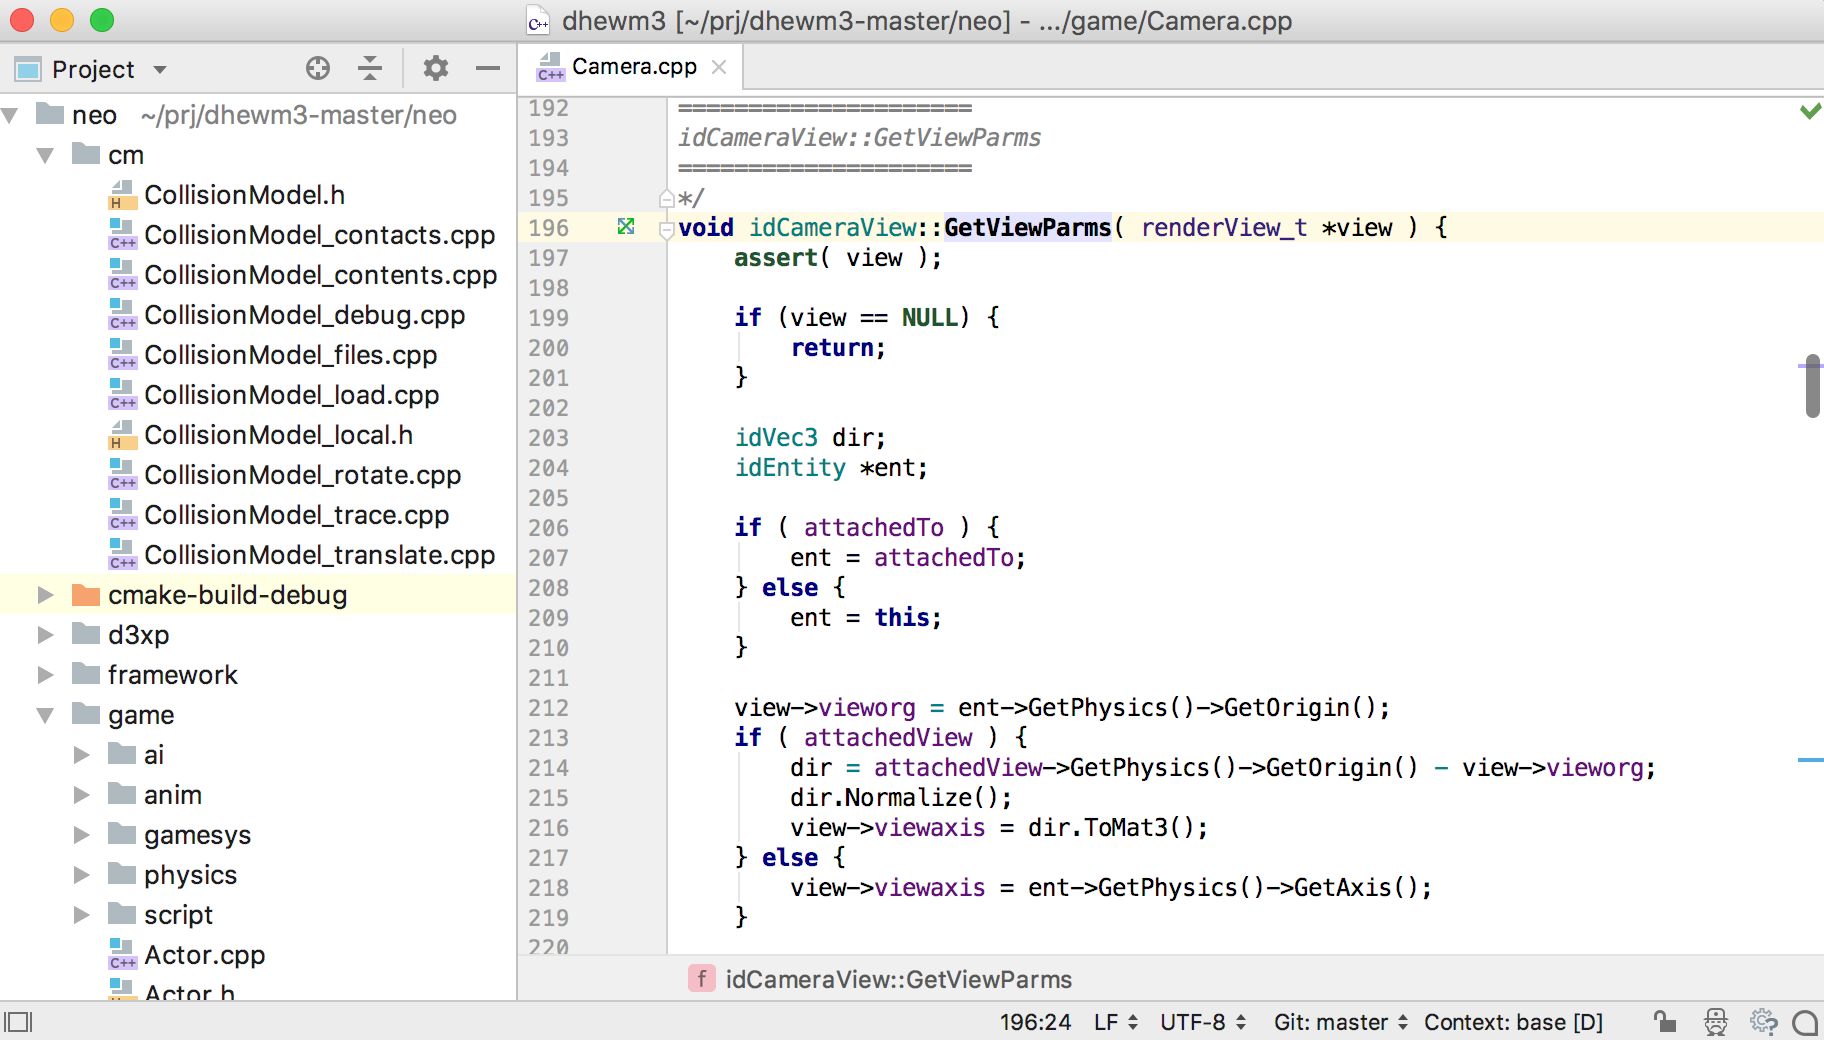
The next step up from code editors like Visual Studio Code and Sublime Text is to use a full-fledged Integrated Development Environment (IDE). Besides allowing you to edit code, IDEs usually include build automation tools and integrated debuggers. We recommend checking out the suite of IDEs provided by JetBrains, including CLion for C/C++ development, PyCharm for Python development, and IntelliJ IDEA for Java development.
The JetBrains IDEs are commercial software, but they provide free licenses for students and educators, and some of their IDEs also have community editions that are free to use (but less powerful than the paid version).
